
This post is going to be about acquiring some basic sewing supplies and learning to hand sew. If you’ve never attempted picking up needle and thread to hand stitch or your one experience was for some craft or scout project as a kid and your only memory of it was about how much you hated hand sewing, well fear no more, because just about anyone can master a few basic stitches and enough proficiency to stitch up a torn seam or sew a button back on. Actually, I am confident that if you make up your mind to become proficient at hand sewing, you can surely do it. I’ve linked to some basic sewing YouTube videos at the end of this post, if you want to just skip my blabbering on.
Hand sewing dates back to prehistoric times, so if cavemen could figure out crafting needles from shards of bone and other materials, then use various fibers to stitch together furs and other natural materials, then assuredly most people now, with a literal plethora of sewing materials easily accessible, can sit down and master a few hand stitches.
I came across this interesting conversation between an online homesteader, Carolyn at Homesteading Family, who I often watch and one of the most creative YouTubers, Bernadette Banner, whose channel is devoted to historical sewing and promoting historical dress reproduction. I absolutely love this channel. Bernadette considers hand sewing an Apocalypse skill, because if you can hand sew, you can make clothes, which is vital. You can also make bedding, repair fabric items, and you could repurpose many items in your home that you could salvage to keep you and your family clothed, warm and comfortable even in the worst of times. Here’s the video:
If you ask 10 different people who like hand sewing what supplies they’d recommend for a beginner, you’ll probably get 10 different answers. Due to modern mass production of fabric and clothing, needlework of any kind now is mostly pursued as a hobby and not learned as an important basic survival skill. I’m going to approach this from an emergency preparedness perspective and geared toward people who have little to no experience handling needle and thread.
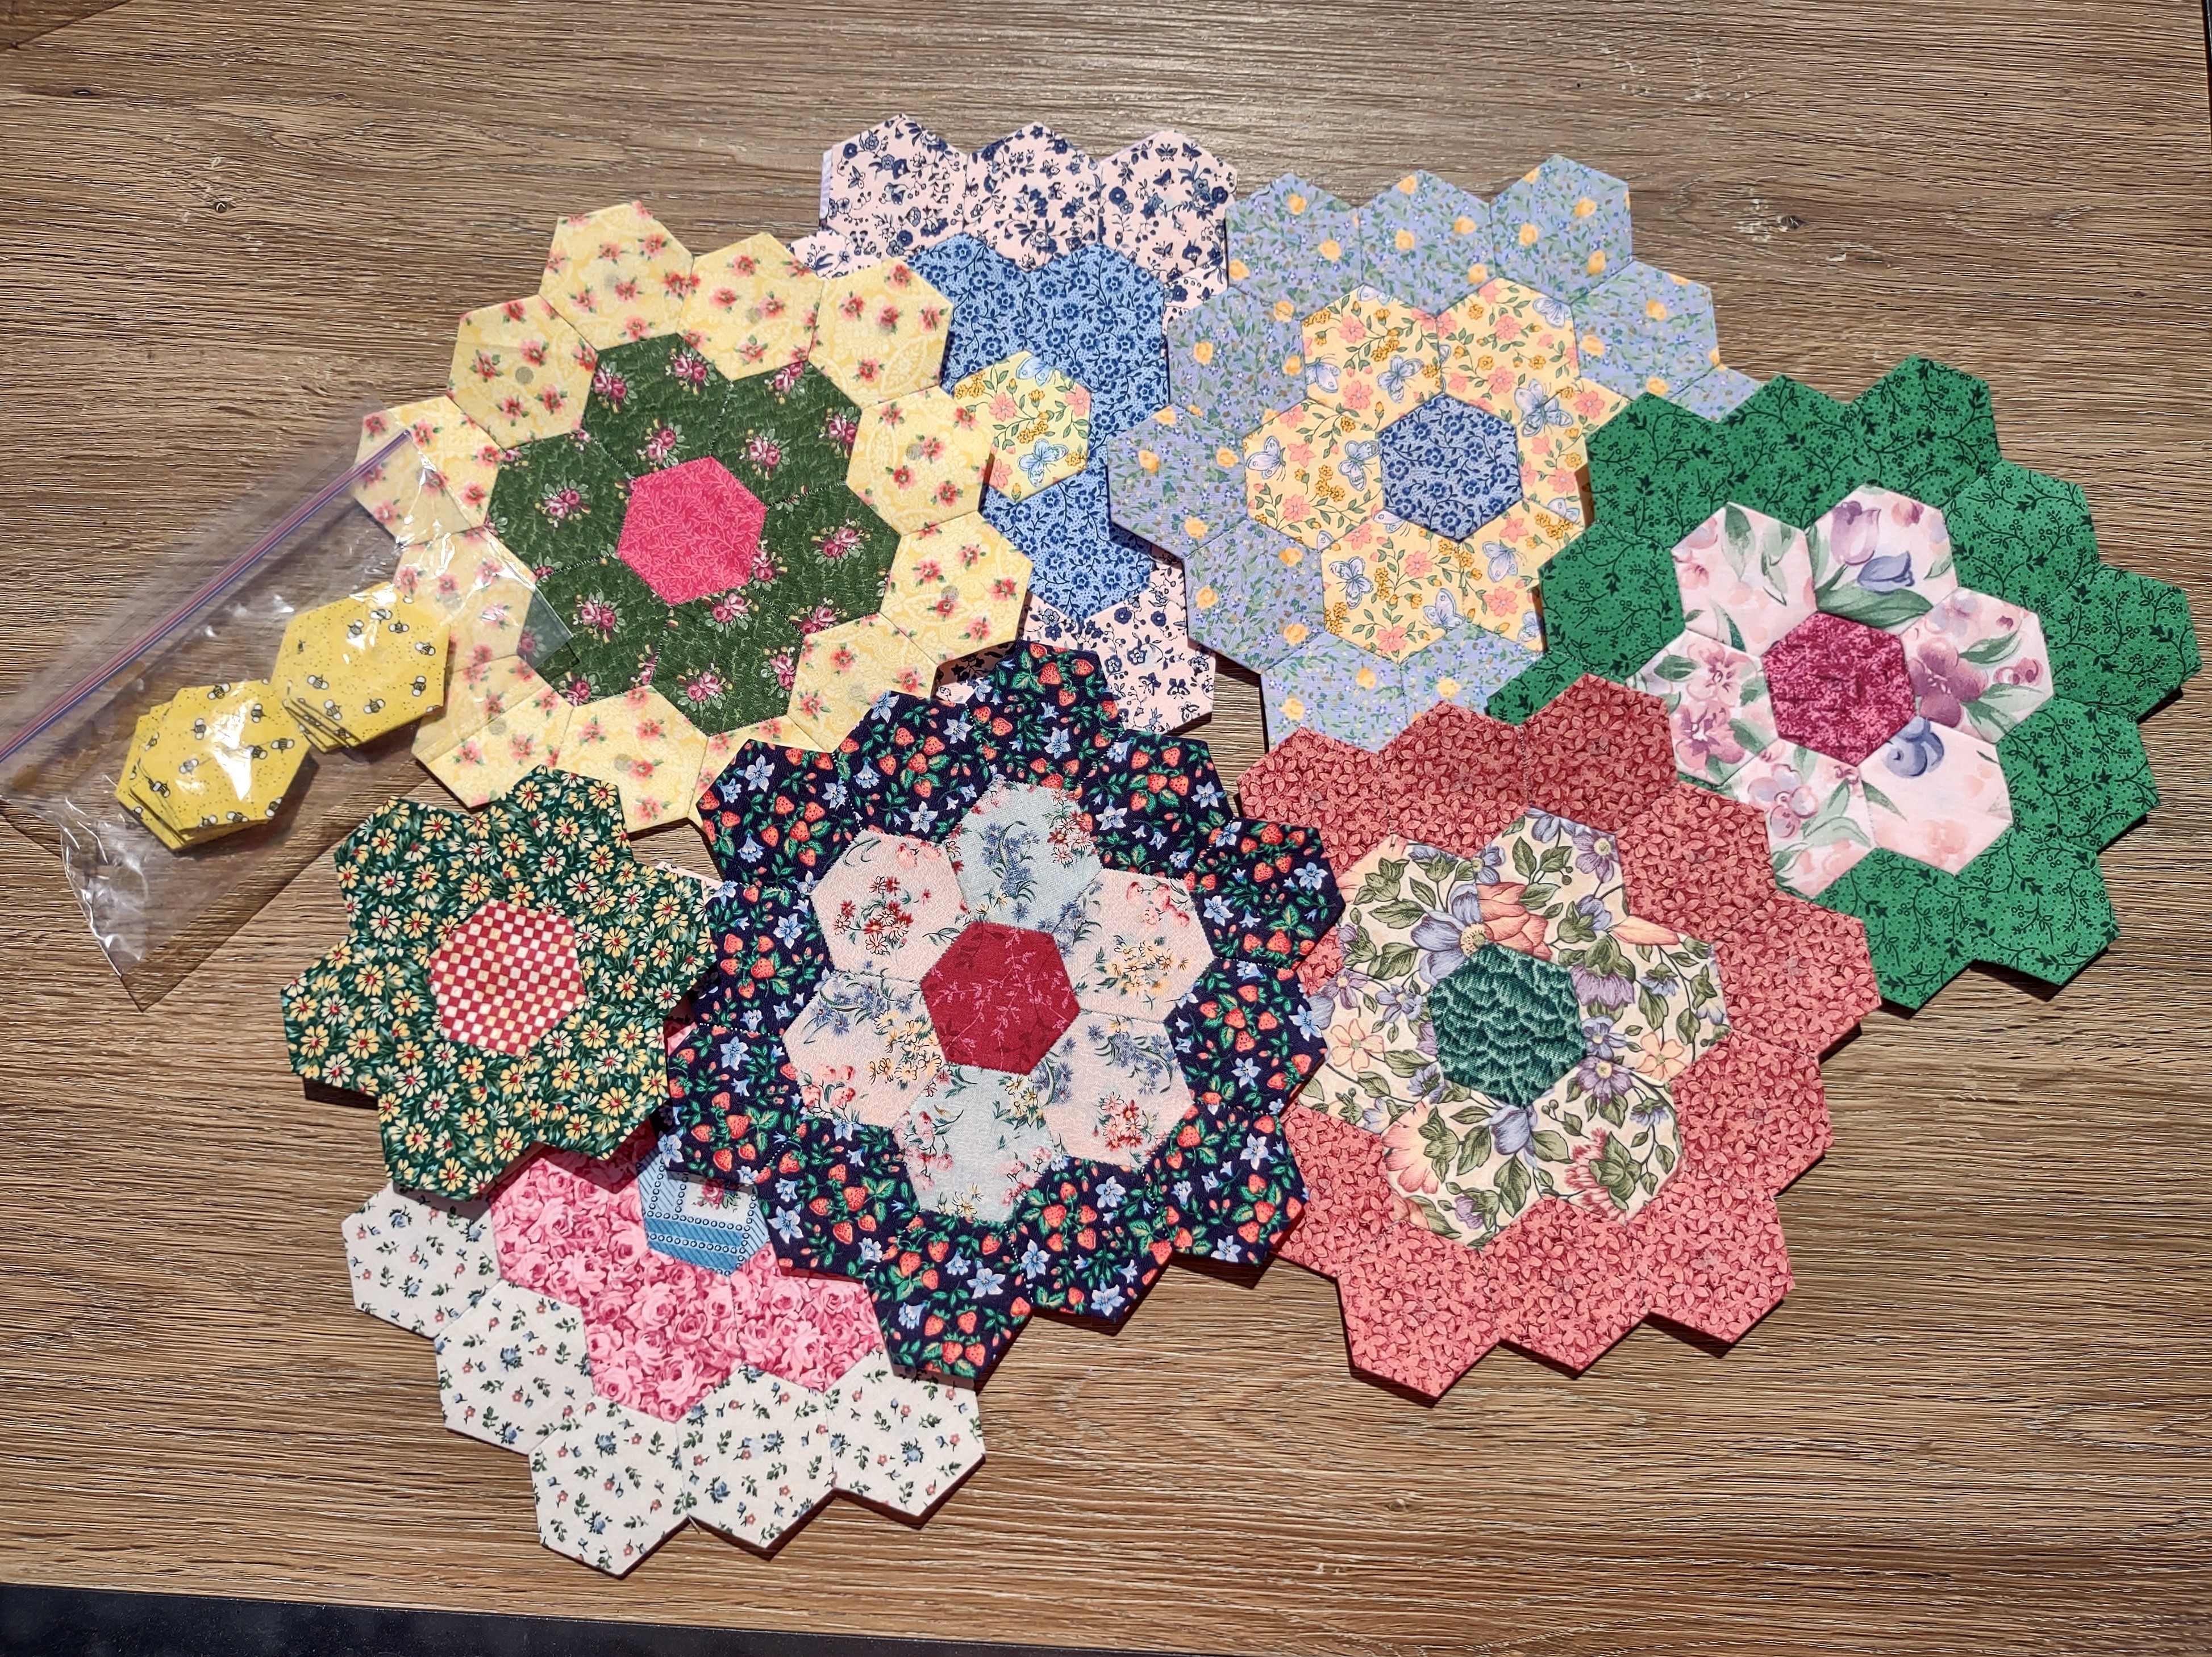
As I’ve mentioned before I like decorative hand sewing, particularly counted cross stitch. The photo at the top is hand stitched quilt blocks I’m working on. I made a few a couple years ago, then put this project aside, but I pulled it out recently and began stitching together more of these quilt blocks. The pattern in America became known as Grandmother’s Flower Garden and the technique is called English paper piecing, which dates back to England in the 1790s.
My great-grandmother made several quilts using this pattern and I spent many hours as a kid helping her pick out colored prints for her quilt “flowers” and cutting out fabric hexagons for her. Interestingly, Grandmother’s Flower Garden, an old English quilt pattern, became very popular during the Great Depression in America and that’s when my great-grandmother became enamored with this quilt pattern. If you’re interested in learning more about English paper-piecing, I went back to England and found this YouTube channel, Emma Jones Vintage Sewing Box, with all sorts of project ideas, tutorials and tips.
I think just like preppers talk about having emergency supplies stocked up at home and having a to-go bag packed in case you need to evacuate your house quickly, you should have two basic sewing kits – one for home and a small travel sewing kit.
There are a wide variety of cheap travel sewing kits available and while any needle, thread, scissors and a few safety pins can be handy to have if you need to do a quick clothing repair, it’s not expensive to build your own home sewing kit with a few supplies and skip the packaged sewing kits, especially those travel sewing kits. If you put together a simple home sewing kit you can easily pull a few items from that to put together a small travel sewing kit.
I haven’t bought and tested these specific sewing kits, but I have used similar ones over the years. Men might prefer a sewing kit like this Raine military sewing kit, which comes in a zippered, nylon case Here’s a Singer brand travel sewing kit that comes in a hard plastic case. Personally, I would skip the preassembled sewing kits, especially the travel sewing kits, but if you wanted to go with a preassembled travel sewing kit, something similar to either of these would serve the purpose. When I was in the Army I was issued a small sewing kit similar to the military one I linked and the thread was sturdier than previous travel sewing kits I had, plus the buttons that came with the kit actually went with military uniforms, which was useful.
Here are my main complaints about most preassembled sewing kits. Often they come with a wide assortment of thread colors, which lures the unsuspecting. The natural assumption is that with so many thread colors, you could have just the right thread to match almost any clothes that needs a quick repair. Wrong! The thread is usually cheap polyester thread that tangles and tears easily. The needles are usually awful too. While a cheap sewing needle is awful to try to sew with, cheap thread that tangles and tears constantly is a total nightmare. If you manage to sew with flimsy polyester thread, the chances of that seam holding for long are very slim. In an emergency if you had only needles, you could even do some emergency stitching using your dental floss as thread and even that would be 100X better than that cheap polyester thread.
Here’s the truth about thread colors – you don’t need 99 colors. A few neutral colored threads can work perfectly fine for most hand sewing repairs (or larger sewing projects, truthfully), which is what a basic sewing kit and a travel sewing kit are designed for. Black and white thread are obvious choices, but gray and beige thread blend in amazingly well on most fabrics. If I had to choose one thread color, I’d choose gray thread. A few small spools of all-purpose dual duty thread and a spool of button/craft thread (I’d buy gray), for sewing heavier fabrics and sewing buttons back on, can get you a long way with simple hand sewing repairs.
To put together your own sewing kits, select a bag, basket or container to store your sewing supplies in for your home sewing kit and then a smaller pouch, bag, or container you want to use as your travel sewing kit. Even a small metal box, like an Altoid box can make a simple travel sewing kit. The Singer Survival Sewing kit has neutral thread, needles, a needle-threader, scissors, and a few other items. In the comments several people complained that the box is larger than most travel sewing kits, so that’s something to consider.
You don’t need to put whole spools of thread in your travel sewing kit. You can purchase plastic or cardboard thread bobbins or make your own. It’s very easy to cut out a small piece of cardboard or even a small piece of an index card works. Then cut a small slit on two sides, cut a few yards of thread, then anchor your thread in one slit. Continue wrapping the thread around the card, through the other slit. Finish by making sure the tail end of your thread is anchored snugly into a slit.
The nice thing about using plastic or cardboard thread bobbins to hold thread in a travel sewing kit is they take up less space and lay flat. A small piece of felt can be used to anchor your needles and safety pins onto. Another alternative is there are all sorts of needle cases available, but if you look around your home, you’ll probably find small containers that can be repurposed to hold sewing supplies You can even find foldable scissors on amazon that will fit into a repurposed Altoid box. A lot of men like those multi-tool/pocket knives and many of those have scissors on them too, so check out what tools you already carry in your to-go bag and avoid unnecessary duplications.
What you choose for your sewing kits beyond needles, thread and scissors is up to you. One additional sewing item – a thimble has been listed as required, not optional, in every hand sewing book I’ve ever read. Thimbles come in different sizes and all sorts of material – metal, ceramic, leather, plastic, etc.,
The thimble is worn on the middle finger of your dominant hand that you use to hold the needle. Finding a thimble that fits your middle finger comfortably, but that stays on can take trying several thimbles. You can get by doing small clothing repairs without a thimble, but if you plan to do longer stints of hand sewing and hope to improve your stitching, you’ll have to learn to use a thimble. Using a thimble takes practice, because at first a thimble feels awkward and unwieldly. If you’re trying to hand sew through thicker fabrics, it will become abundantly clear why thimbles were invented. Thimbles allow for better control of your needle and more consistent stitches.
Adding a few band-aids in your travel sewing kit can be handy, just trust me on this. Every person who hand sews has stabbed their fingers with their needle and likely drawn blood. Having band-aids right with your sewing kit can prevent you having to hunt around for a band-aid while trying not to get blood smeared around. Ask me how I know this, lol.
Safety pins are a very useful addition, as are straight pins. With needles and thread you will encounter all sorts of sizes, numbers and terminology. Different size needles are intended for different weight (the thickness) fabrics. Likewise, there are different types of thread for use on different types of fabric. For general clothing repair, needles that are called “sharps” work fine and all-purpose dual duty thread will likely work just fine.
Don’t make things too complicated.
You’ll quickly figure out how you want to personalize your sewing kits, once you actually begin practicing hand sewing and become more comfortable and proficient with the process.
With all sewing and needlework, the variety of supplies can be daunting. There are a lot of trendy gadgets and brands that many people insist are the only ones they will use or “must haves.” I’ve had my own needlework snobbery moments over the years too and I prefer European made needles for my needlework.
A pack of Singer needles with two small spools of Coats and Clark all-purpose dual duty thread in black and white would not be a bad choice to start. This assortment comes with a needle threader and if you’re older and have a harder time seeing the eye of an needle, needle threaders are a real lifesaver. You can find all sorts of inexpensive needle-threaders online. The way these needle-threaders work is you push the little wire loop end of the needle threader through the eye of the needle, then stick the end of your thread through the little wire loop of the needle-threader. Then gently pull the wire loop, with the thread looped through it, back through the eye of your needle.
A tape measure can be a good tool to have for sewing and many other uses. A small pencil is useful too. With sewing notions they also sell sewing chalk and packs of marking pencils, for making marks on different colored fabric. White chalk is easier to see on dark fabric than pencil marks or blue or red chalk marks.
A seam ripper can be a handy tool to add to your sewing kits and it can speed up ripping out stitches and cleaning up tangled thread mishaps.
You’ve probably seen those red tomato shaped pin cushions with a little attached red fabric strawberry. The tomato part is a pin cushion where you can stick pins and needles, but that little strawberry is actually filled with emery sand and is for cleaning and sharpening pins and needles.
So, that’s a few basic supplies and then if you’ve never picked up a needle and thread, you might be totally intimidated at the prospect of learning to sew. Relax, be prepared for some mishaps, knotted up thread disasters, confusion, and frustration.
Learning to hand sew takes some patience and practice. Every single person who hand sews has experienced knotted thread, thread tearing, tangled up messes, stitches that look terrible, stabbing their fingers and having to tear out stitching and try again.
Once you have some needle and thread in hand, it’s time to start learning a few basic stitches. Here again, opinions will likely vary on what are the most important stitches to learn. I think learning a running stitch (straight stitch), back stitch and hem stitch (felling stitch) are valuable stitches to know. A running stitch is the most basic straight stitch. A back stitch is a way to strengthen seams made with straight stitches and it can be used to help lock in stitches when you begin and end sewing a seam. The hem stitch has multiple uses, but as the name implies, hemming is important and since I’ve been focused on learning some hand sewing for repairing clothes, sometimes hems come out of clothes and it’s useful to be able to quickly fix them.
Here are a few hand sewing tutorial videos to get you started:
