
Warning, warning, this is a crafting post, so escape while you can, if you thought you were going to read a political post.

Above are three traveler’s notebook inserts I made with lined paper for my youngest daughter. The middle one has some iron-on fabric appliques that are clearance junk I bought at Walmart years ago. I used tacky glue to attach them.
In my ongoing effort to use scrapbook paper, craft supplies, even old calendars I’ve kept, this “junk journaling” effort is turning into a fun hobby. When my kids were young, I began the habit of keeping old calendars, because calendar pictures are really great to use in a lot of kids craft projects. I still have a Strawberry Shortcake and a Holly Hobbie calendar, and I recently used some pictures from a Minnie Mouse calendar to cover plain, 50 cent composition books for my granddaughters.
Years ago, when my granddaughters were little, I found a project in a book, Trash to Treasure (psst, book was a yard sale purchase), for making children’s sewing cards. I had looked online and in stores for some pretty sewing cards, without much luck. The sewing cards I found were very ugly images, so I bought a puppy and a kitten calendar on clearance, long after the new year, at a local Dollar General store. I made bunches of very cute sewing cards for my granddaughters and also for some friends at work to give to their young children.
Sewing cards have gone out of style, I guess, but truly they were great for little girls and boys to work on manual dexterity. My mother sat my oldest daughter on the floor with a stack of magazines when she was a very young toddler. She handed my daughter a pair of children’s scissors and told her she could cut out pictures. I told my Mom that she was just making a mess and my mother told me I was missing the point, which was my daughter was learning how to handle scissors and improving her manual dexterity. By the time my daughter got to kindergarten she was a professional at cutting out images neatly, even around complicated curves.
My youngest daughter was even better with scissors, because when she was a toddler we were living in Germany and I enrolled her in the German kindergarten in our village. Those teachers handed the little children sharper scissors and taught them Scherenschnitte cutting. At one of their parent/teacher nights they had a class for parents to learn Scherenschnitte to make a Christmas ornament. I had my preschool daughter explaining to me that the trick is to move the paper, not your scissors. Try cutting out images on paper with some sharp curves and notice the difference it makes if you move the paper instead of trying to move your scissors.

These are some small scrap paper note pads and a traveler’s notebook insert for me. The patriotic images are from my 2011 lovely, large wall calendar, Long May She Wave. I used the small images from the back cover of the calendar for this insert. The center image is a WWI rallying poster with an Army Corps nurse at the Liberty Bell, raising the flag. There are soldiers marching off to war, with the Statue of Liberty in the background. Someday I might frame the large print of this image and put it in my “I love America” room.


The other night I was just playing at my craft desk and looking through a stack of old calendars, so I cut up my 2002 Provence calendar, which had lovely photos by Mark Downey. I turned the calendar cover into a soft cover. I used the other calendar pictures, with the addition of some other papers, to make this thin junk journal. I think this calendar was just a dollar store calendar.
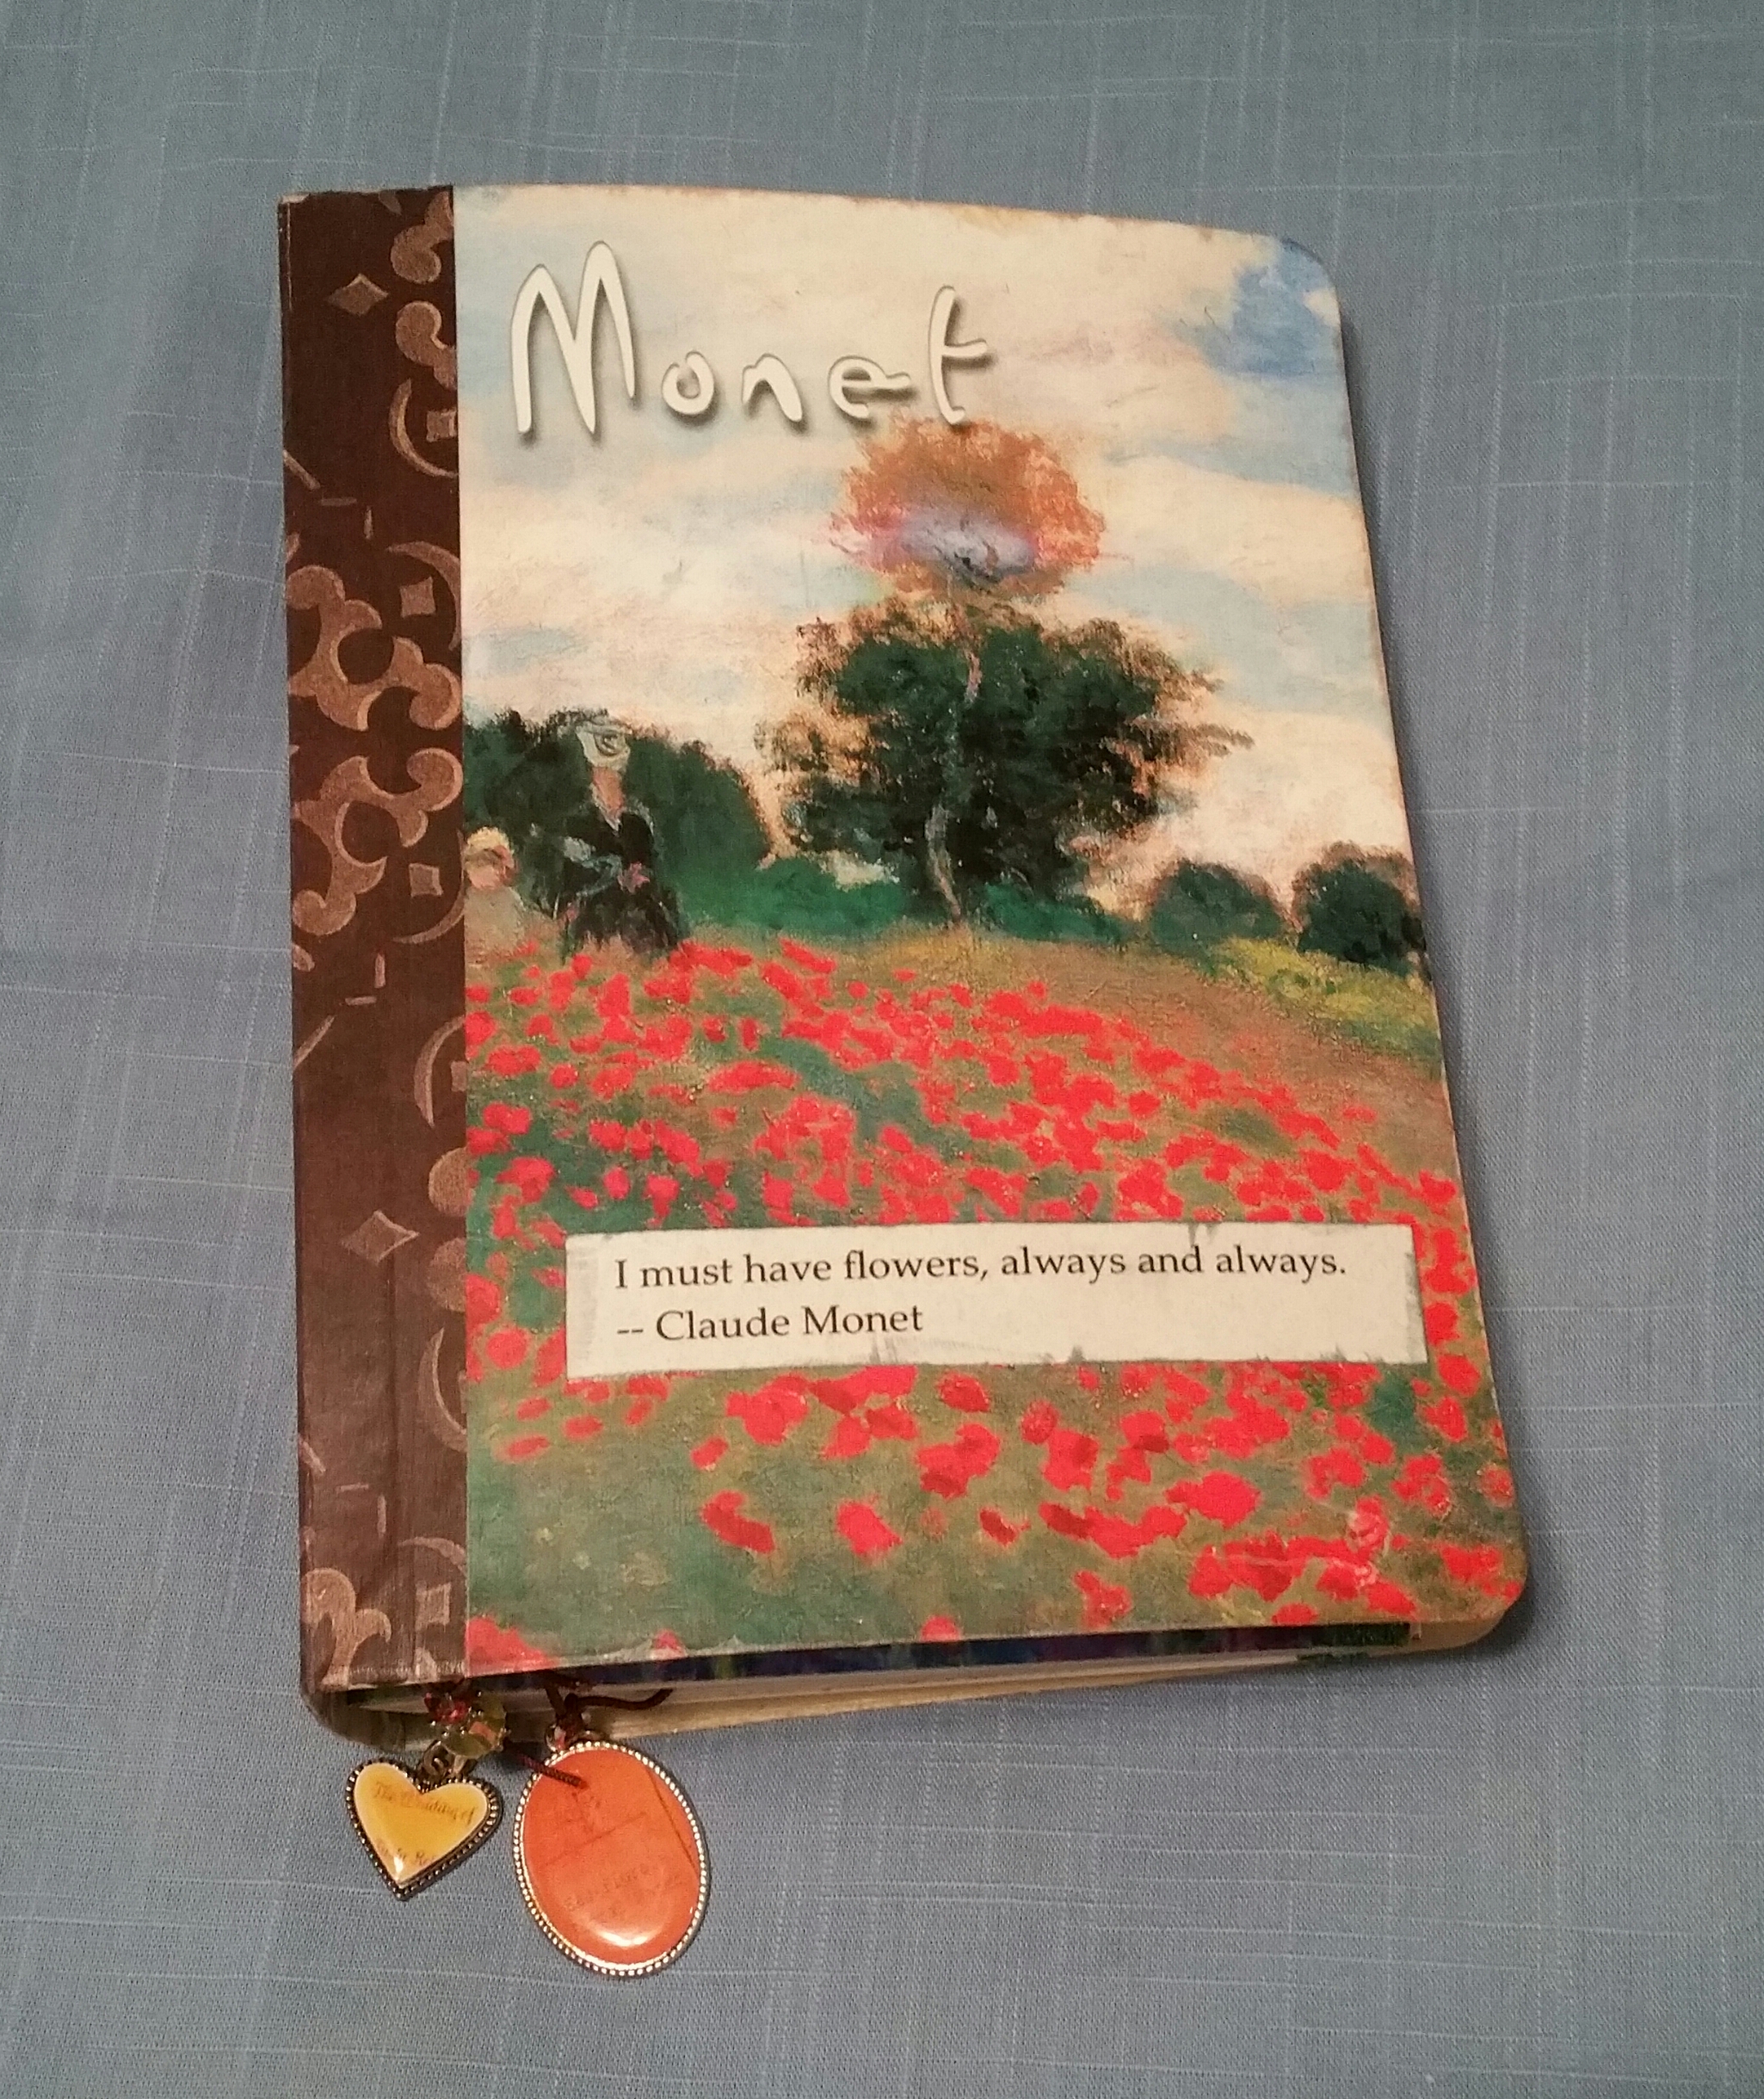

This is my latest project, another junk journal made with a cereal box cover. The picture is a Monet print from my 2005 wall calendar, which I glued onto the cereal box cover. I printed out a Monet quote I found online and added it to the cover. Then I coated the cover with 4 coats of matte finish Mod Podge to seal it. I might add a ribbon to tie around it or add more embellishments to the cover.
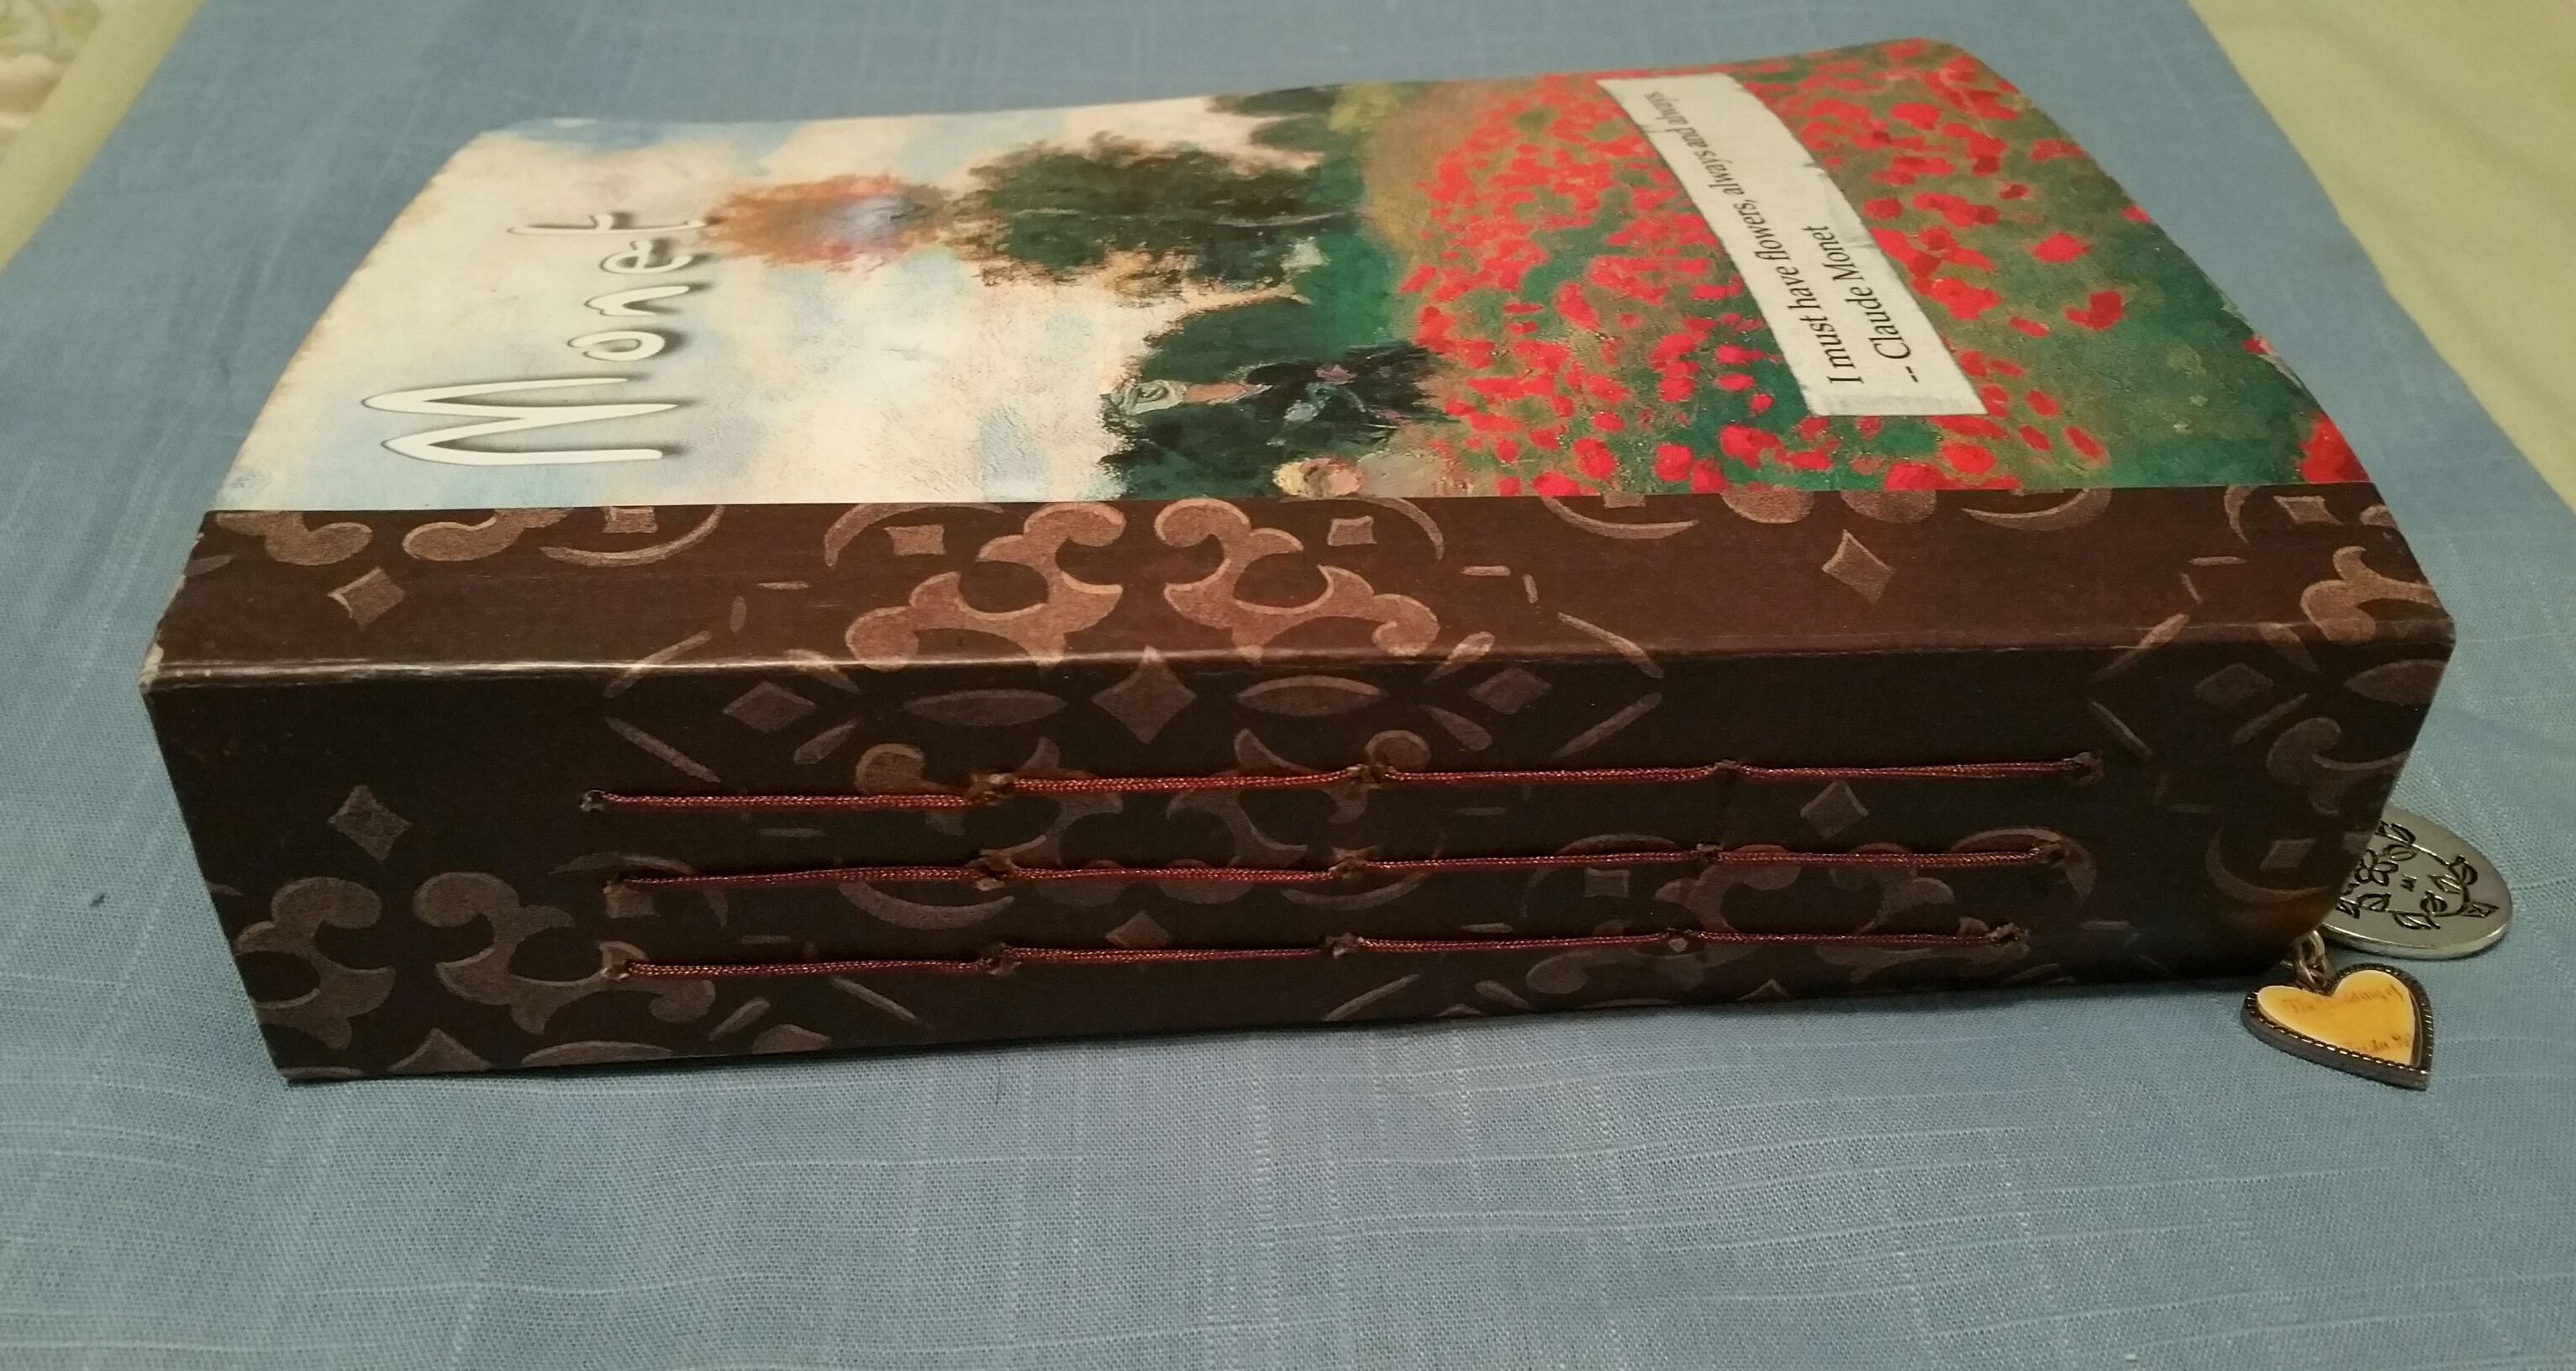
The spine is covered in scrapbook paper and sewn with the 5-hole pamphlet stitch.

There are 3 signatures, with a good bit of room to grow, so that once I start adding embellishments and paper ephemera, it won’t get too bulky.
The good thing is I haven’t gone out and bought anything new while making these.
